
Cart is empty
How to Get Started
See how seller signup works
Follow the simple steps below to create your seller account and get your business online.
1
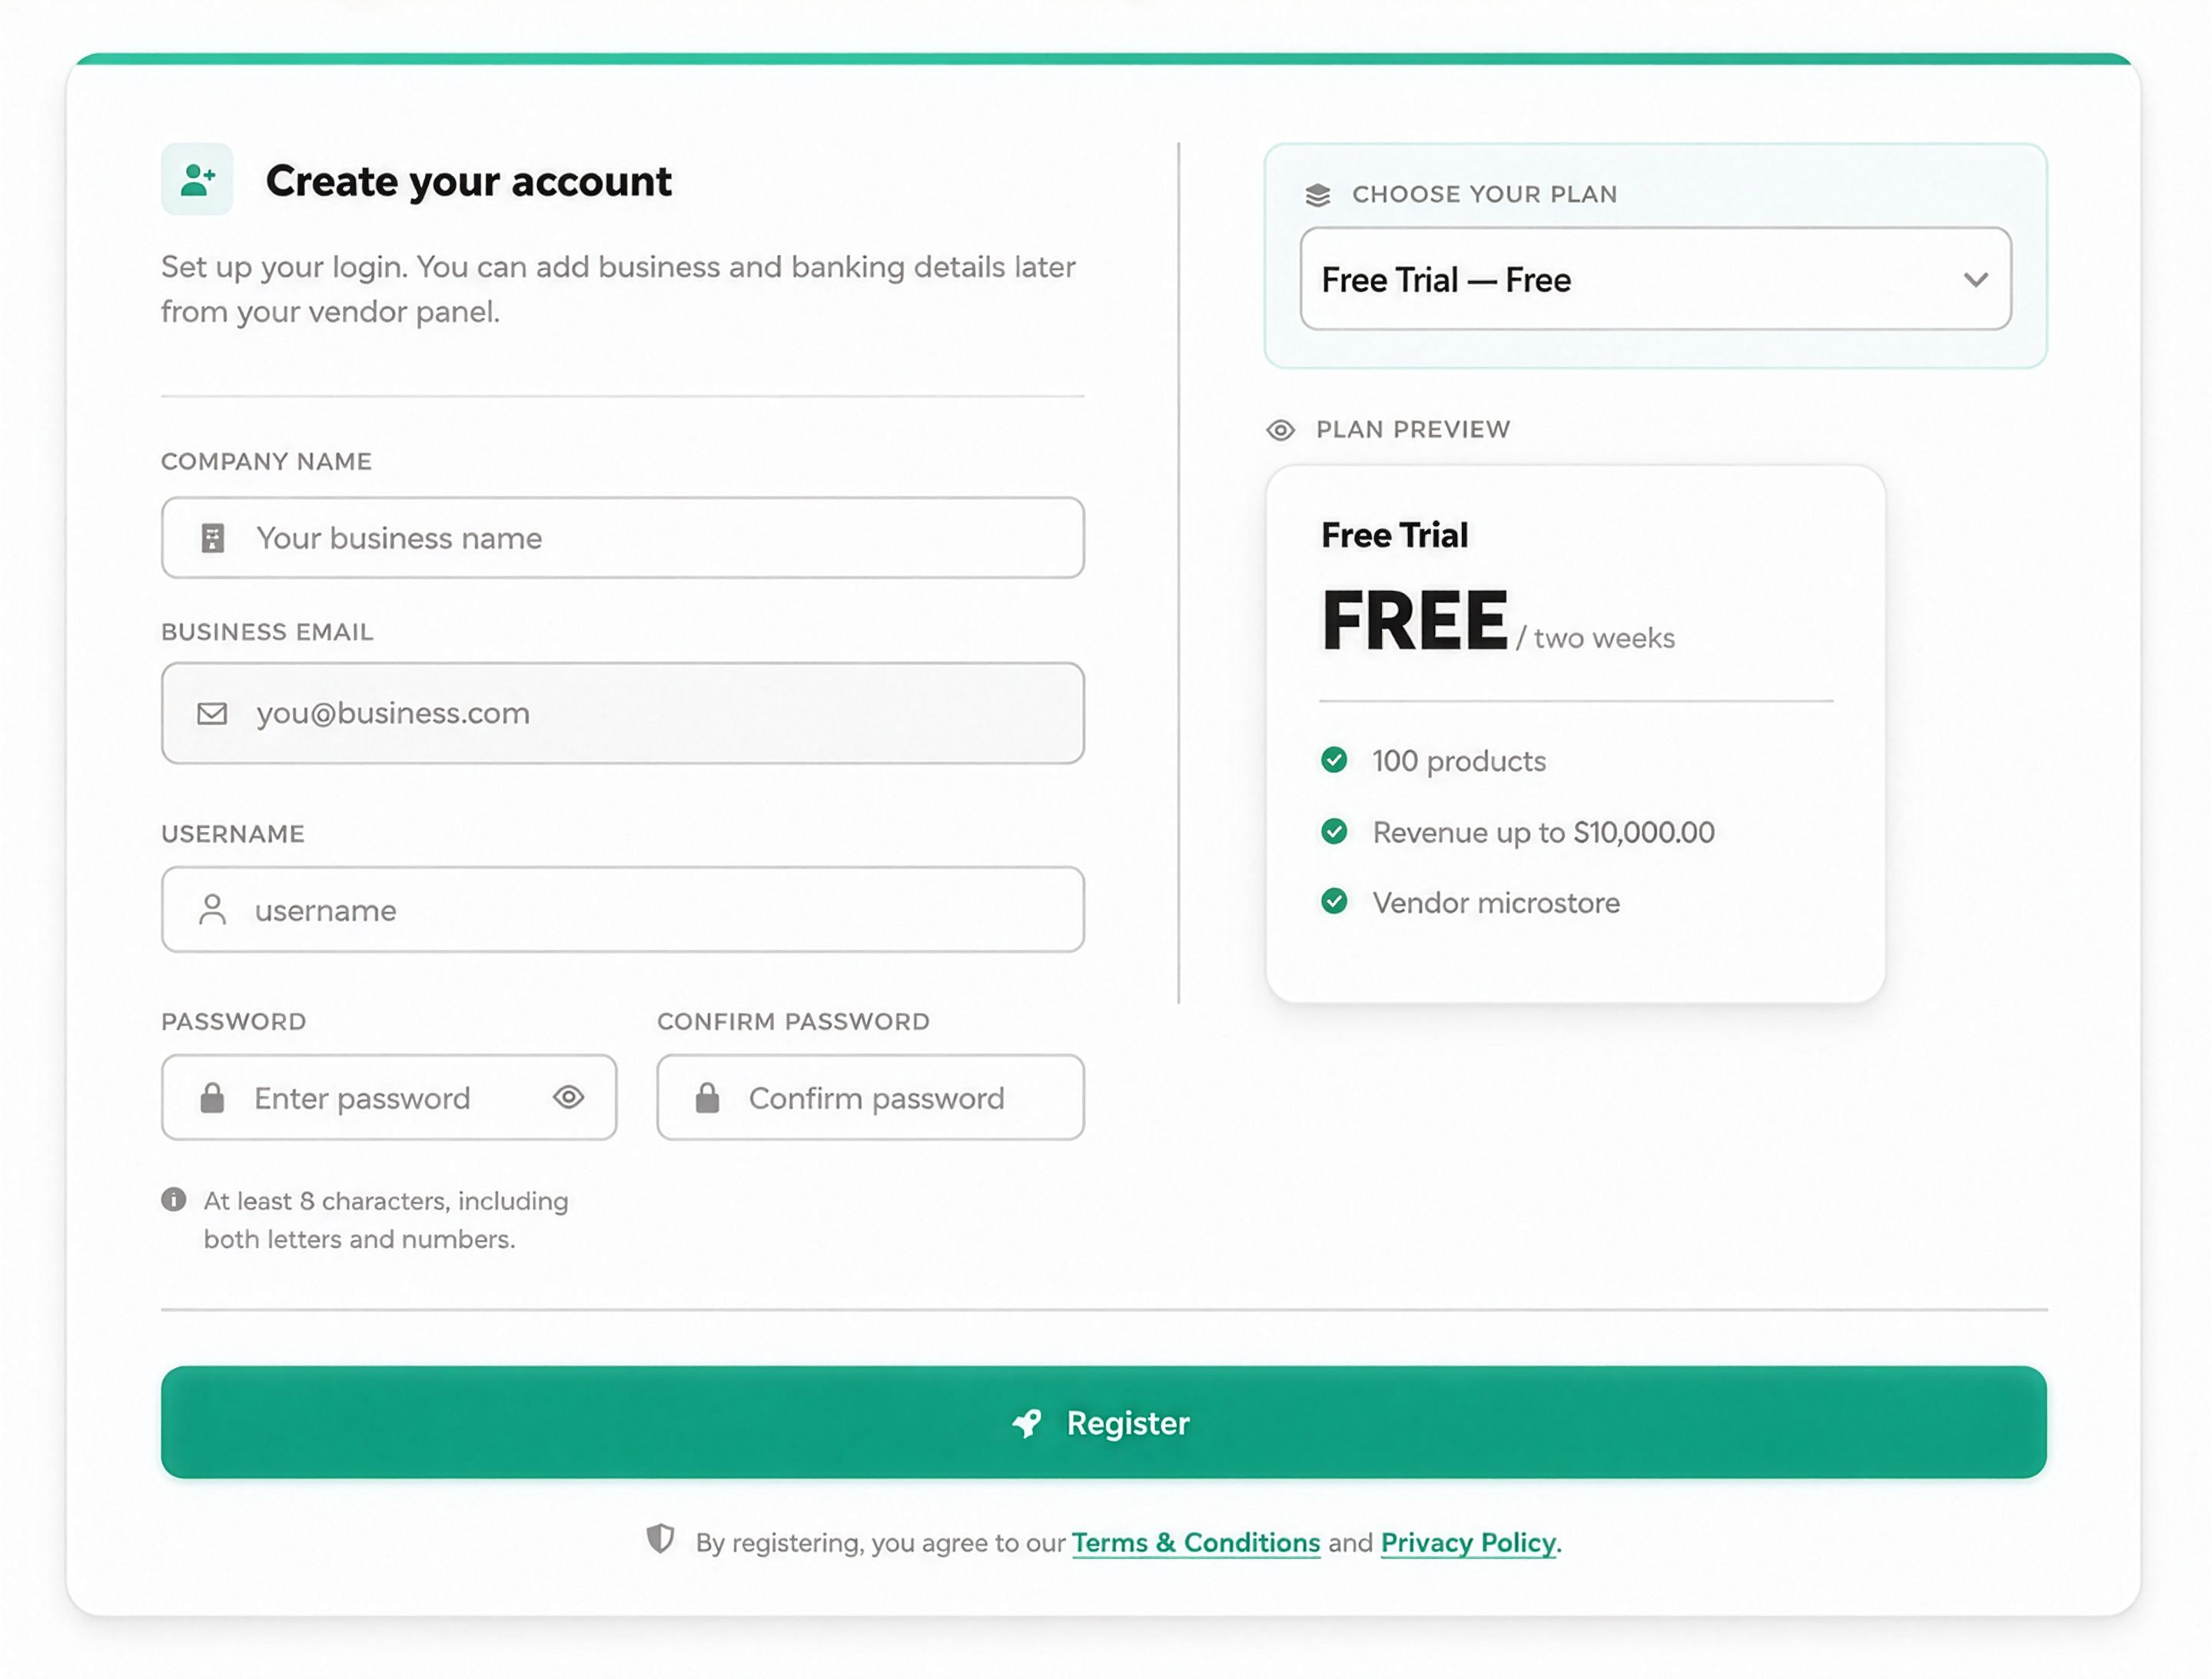
Step 1: Create Your Account
Enter your business name, email, username and password, then choose your seller plan.
2
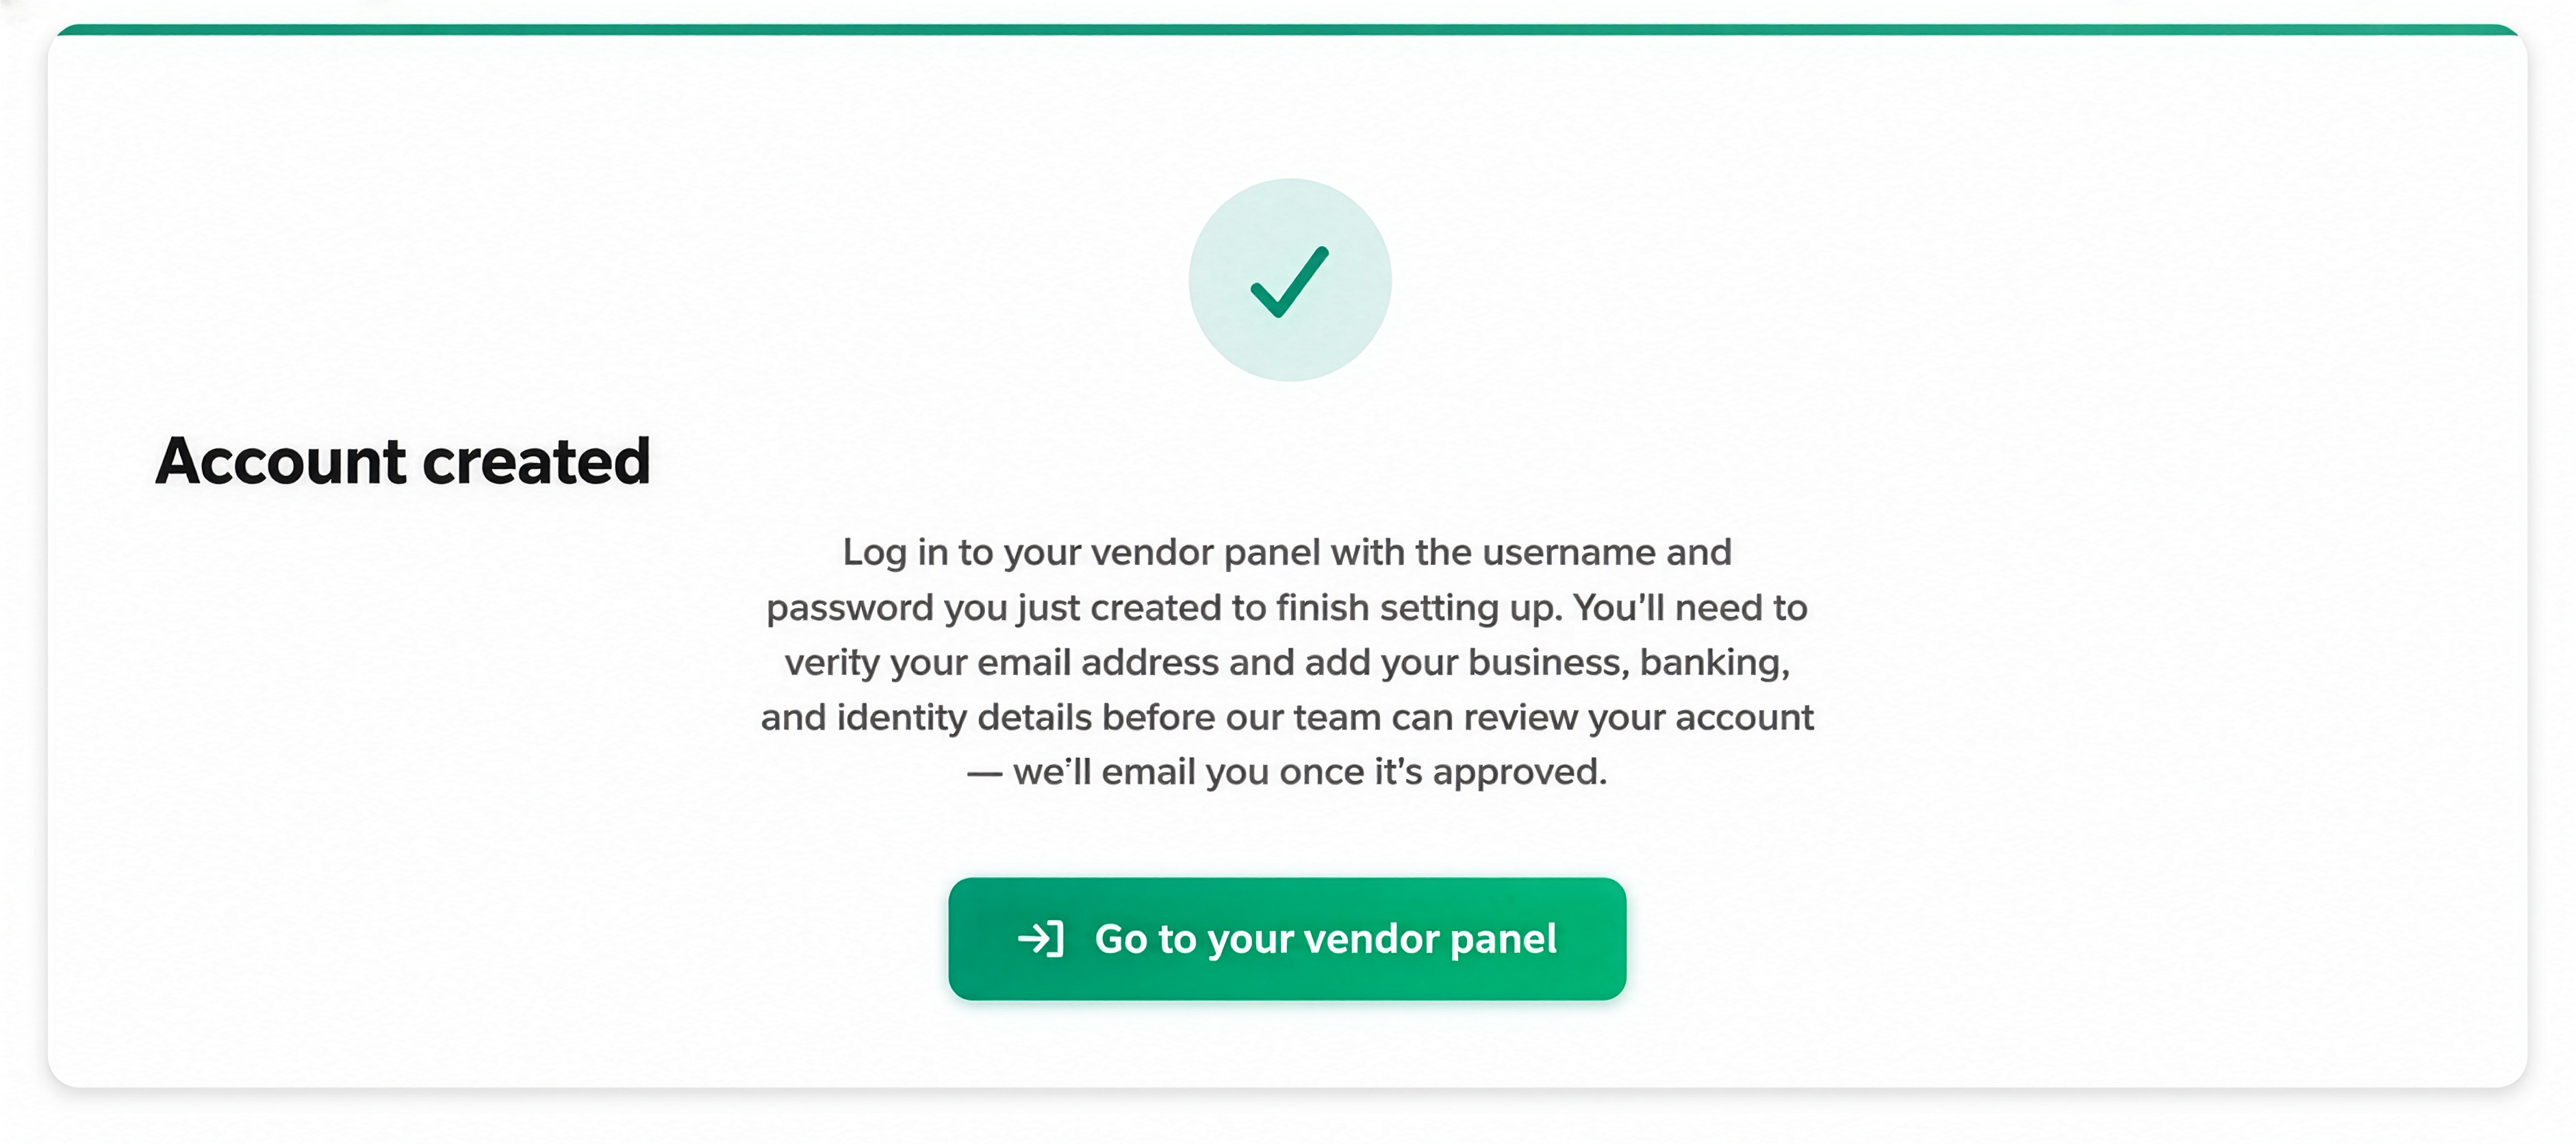
Step 2: Account Created
Once your account is created, continue to your vendor panel to finish setting up.
3
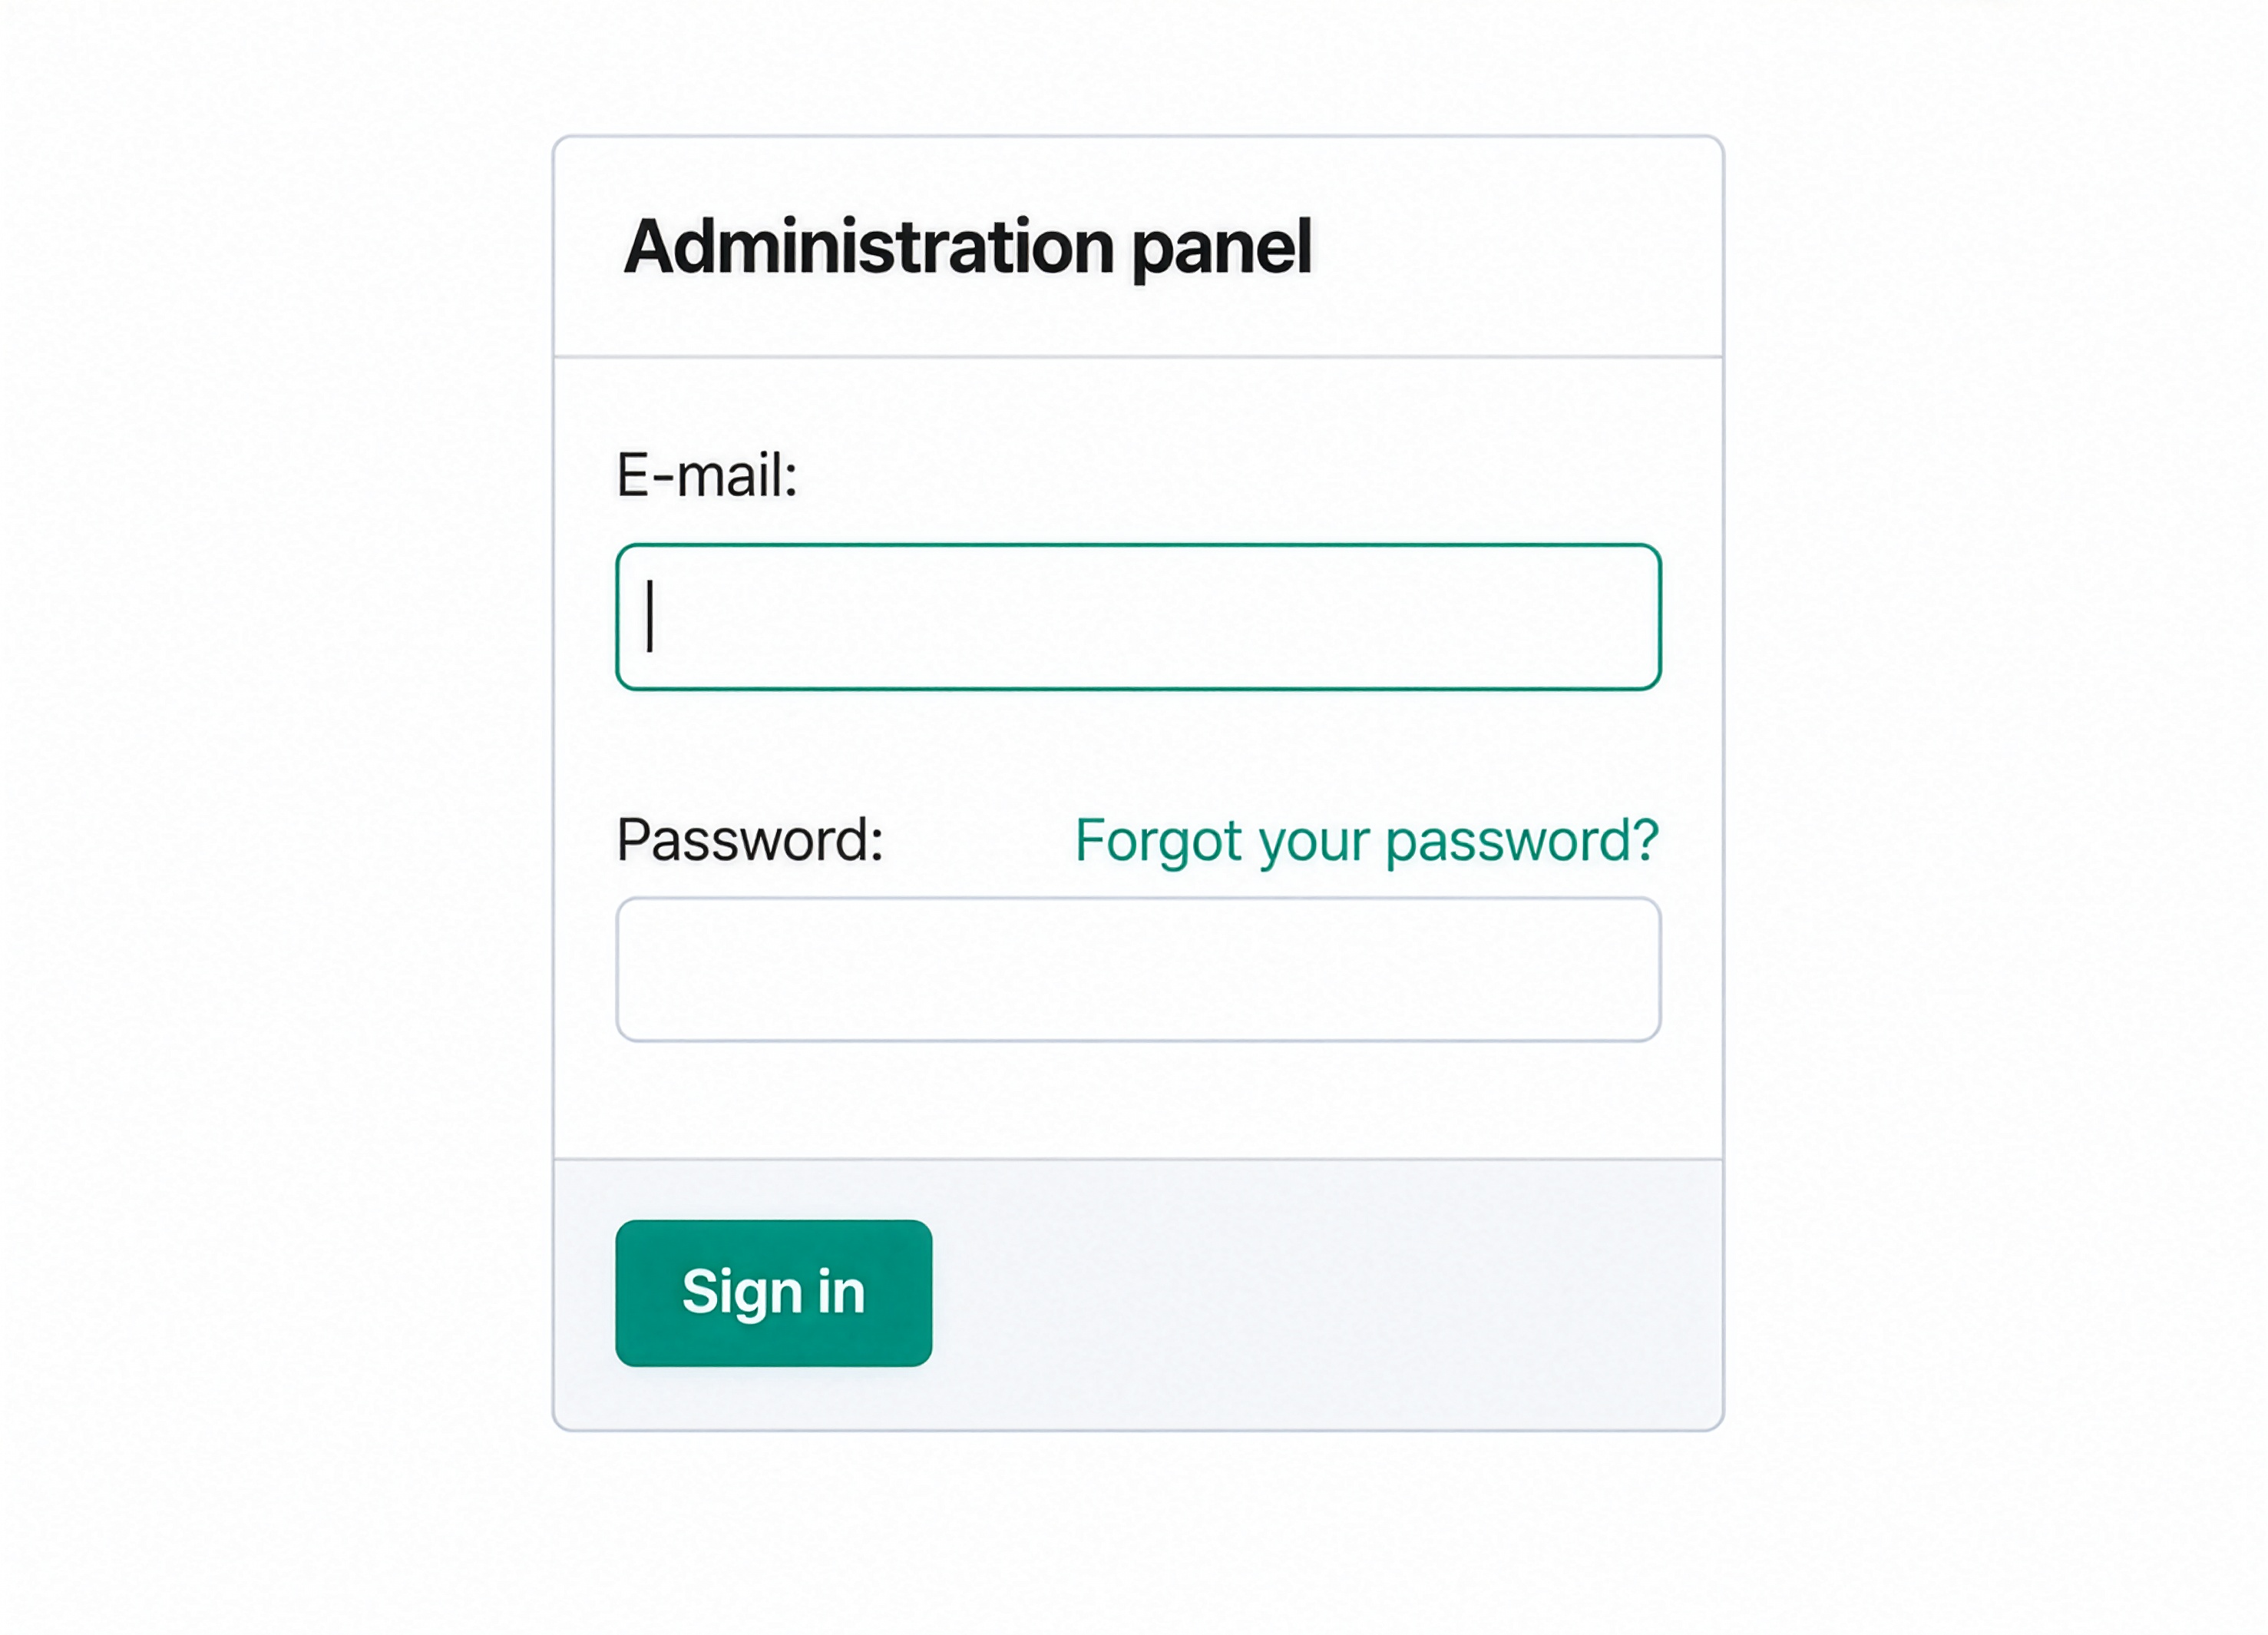
Step 3: Sign In to Your Vendor Panel
Log in using the email and password you created during registration.
4
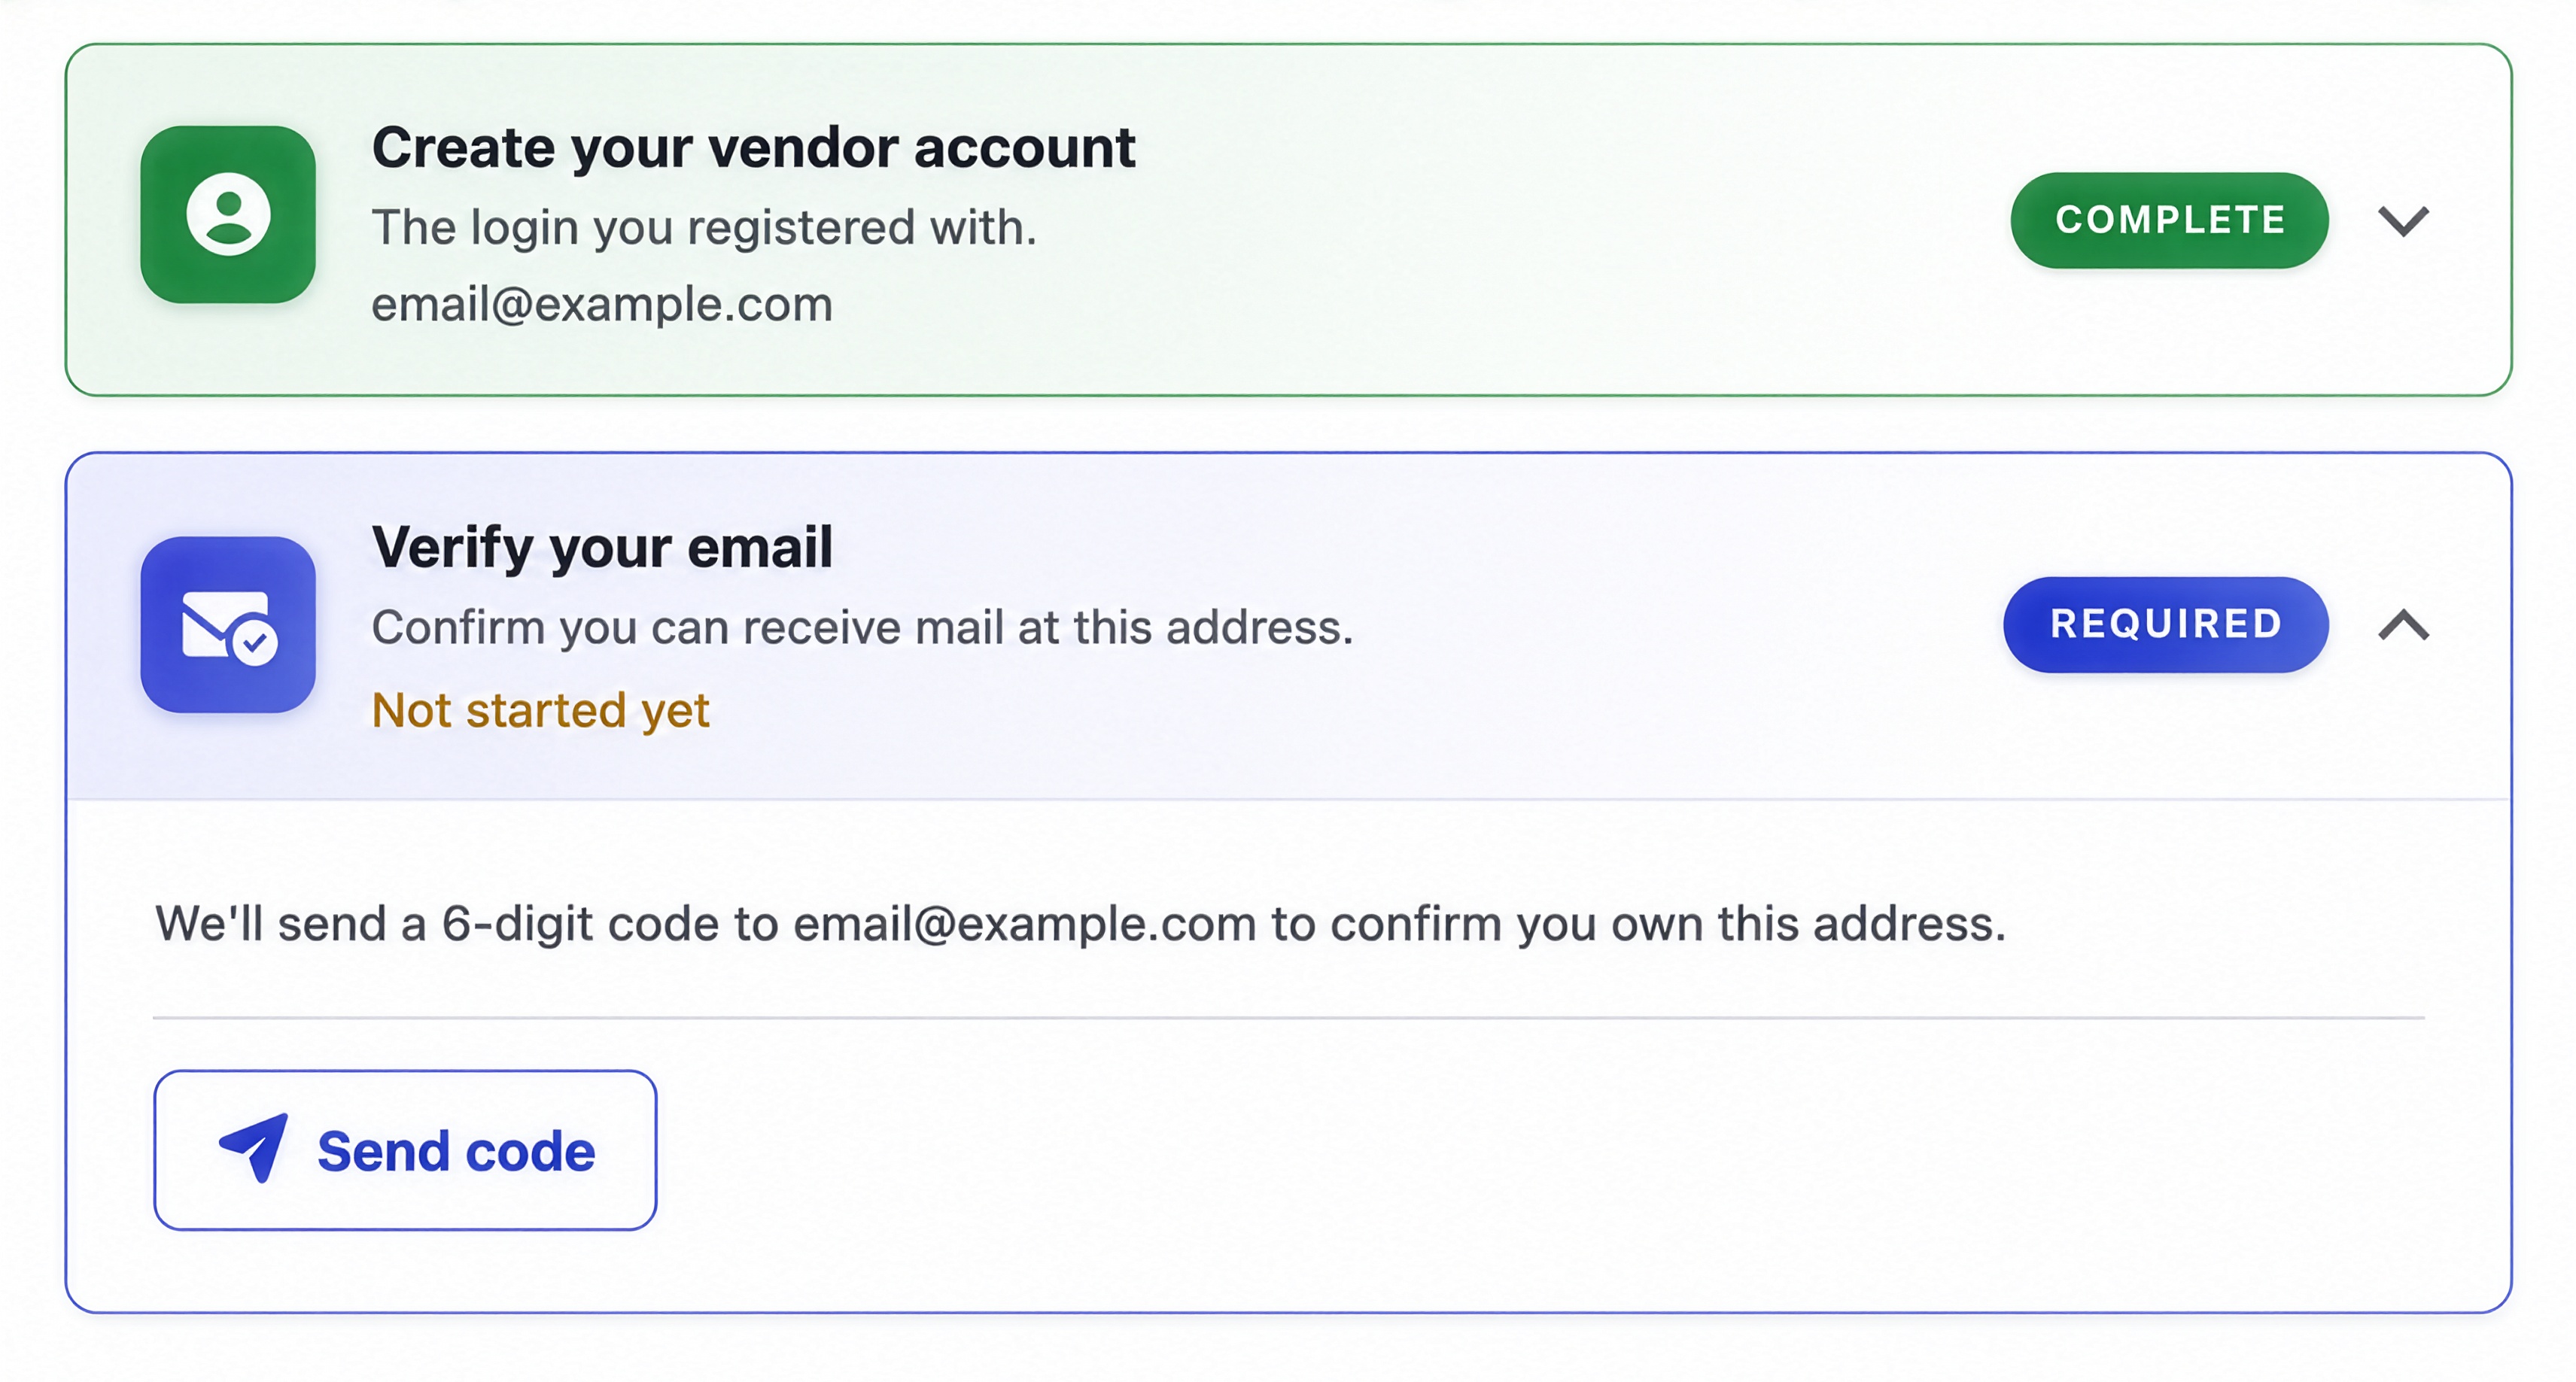
Step 4: Verify Your Email
Request and enter the 6-digit code sent to your registered email address.
5
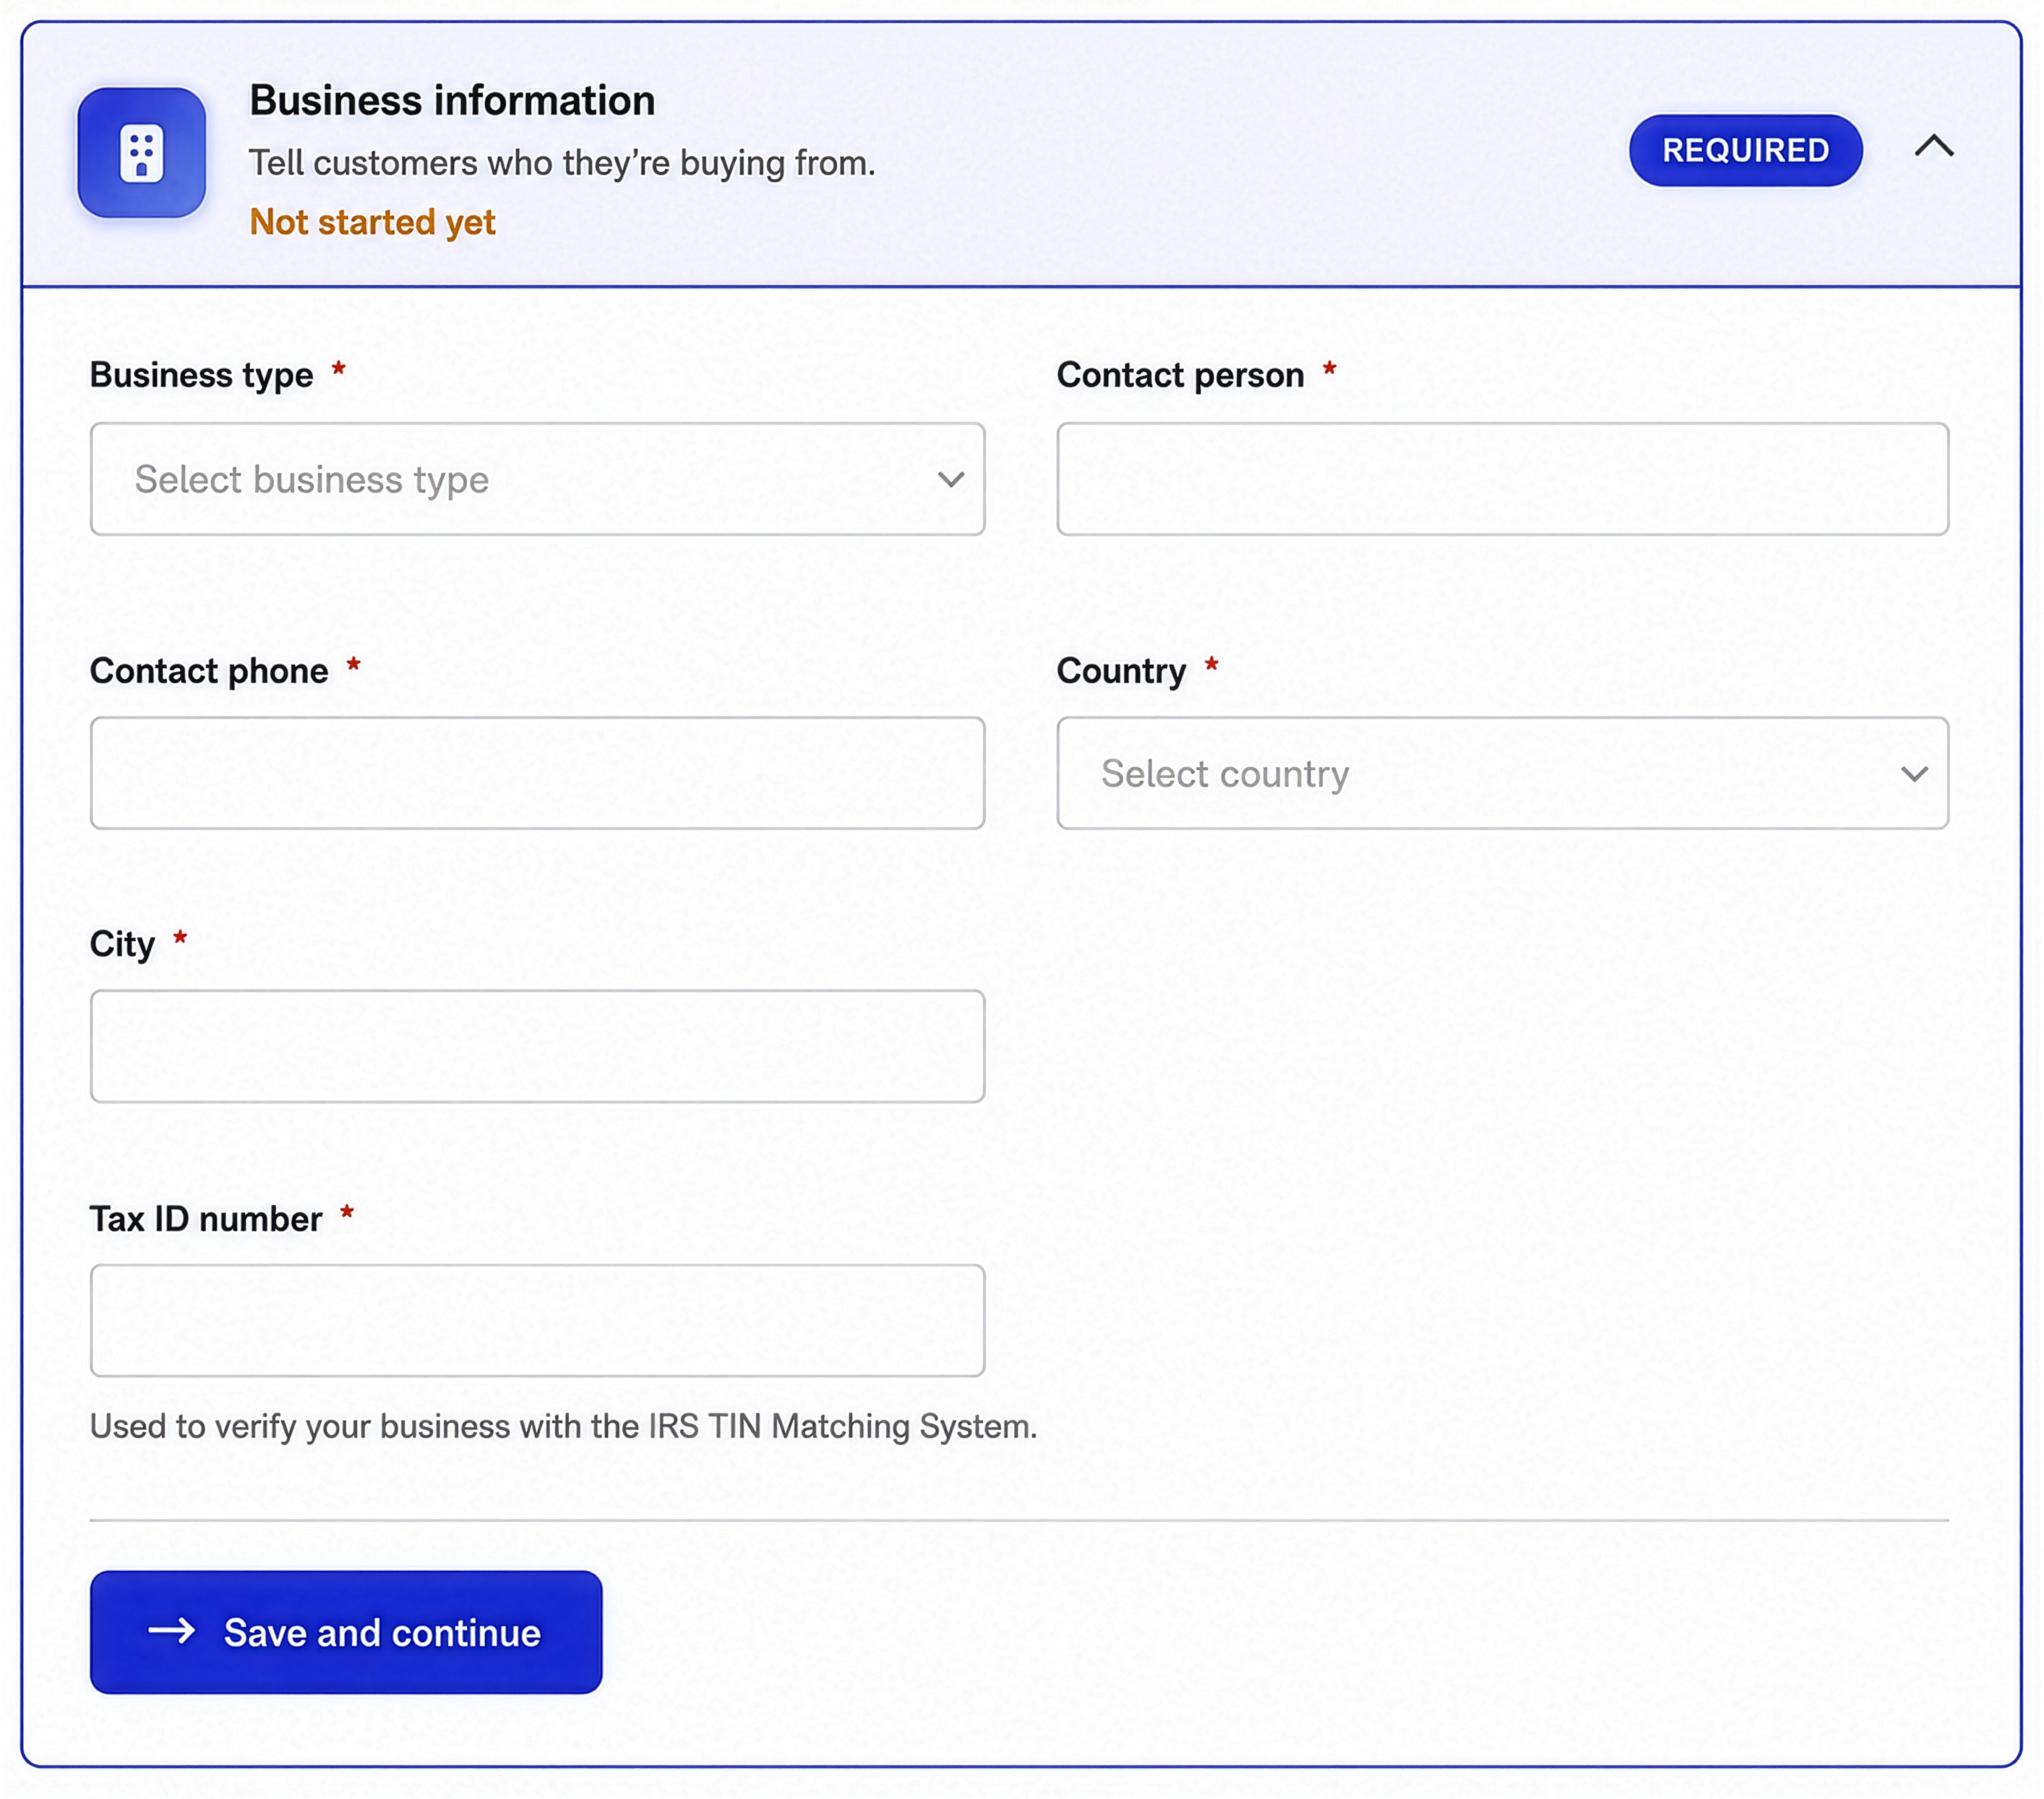
Step 5: Add Business Information
Enter your business, contact, location and tax information.
6
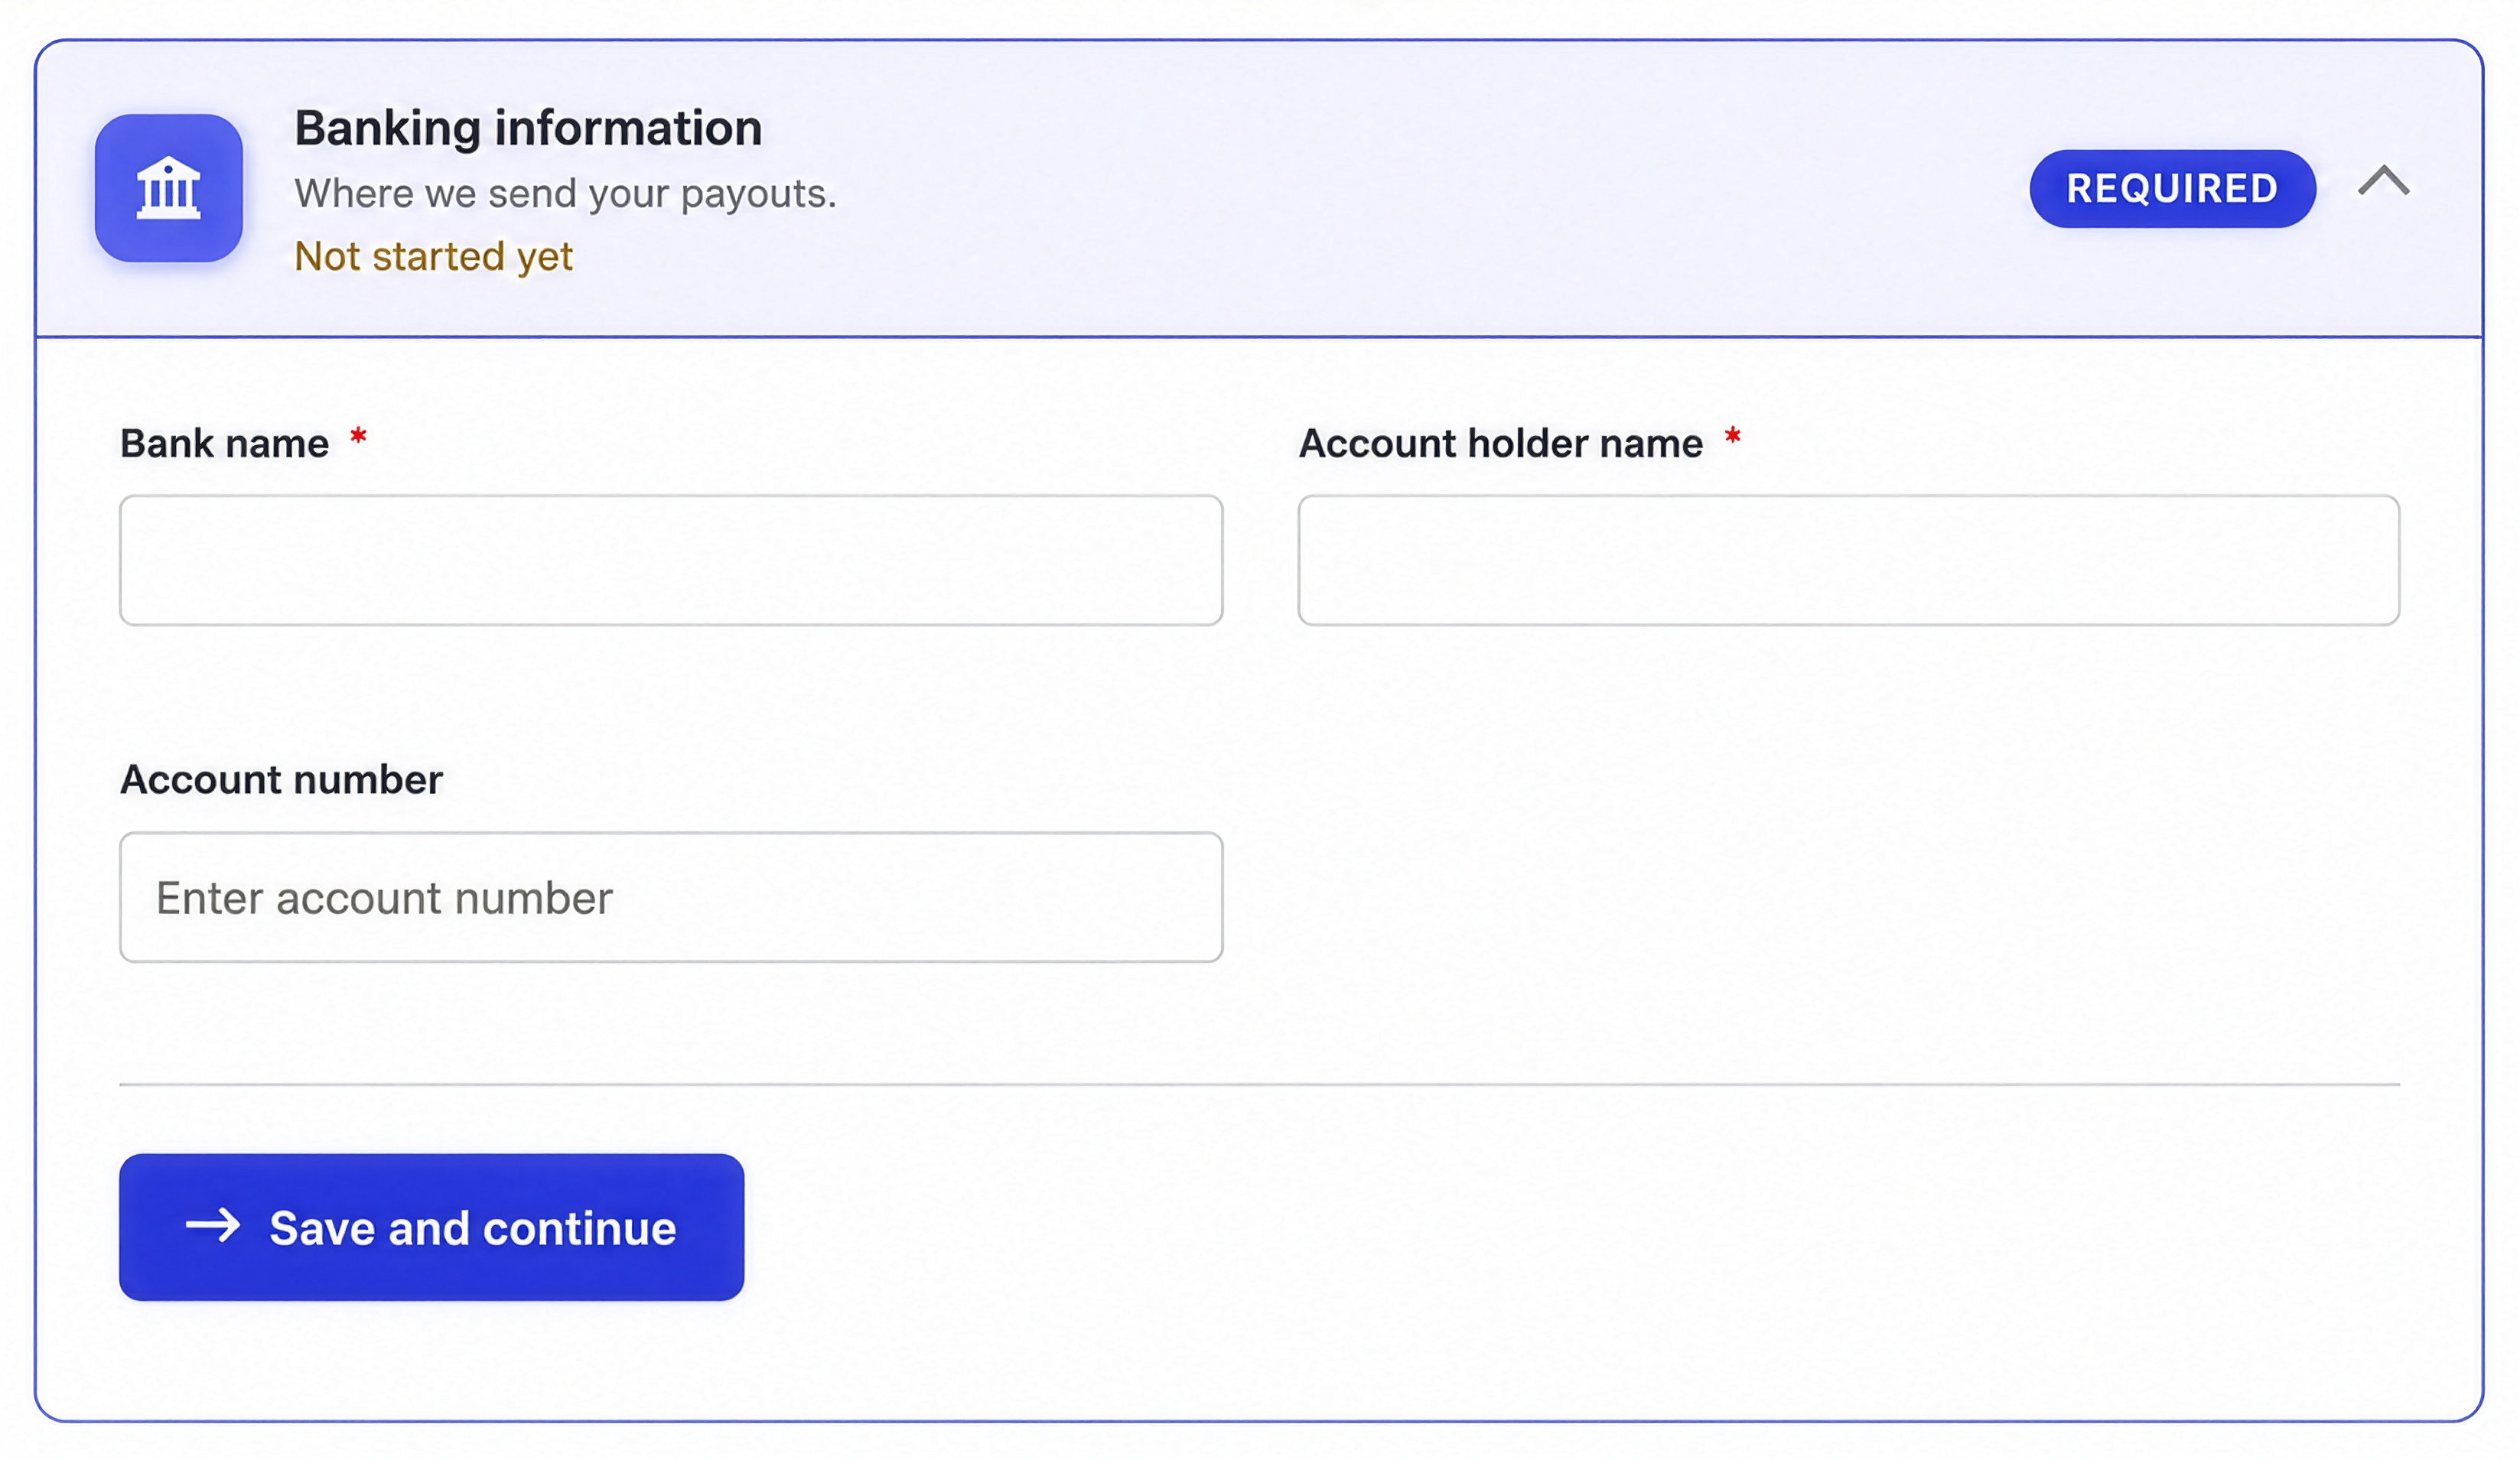
Step 6: Add Banking Information
Provide the banking details needed for your seller account.
7
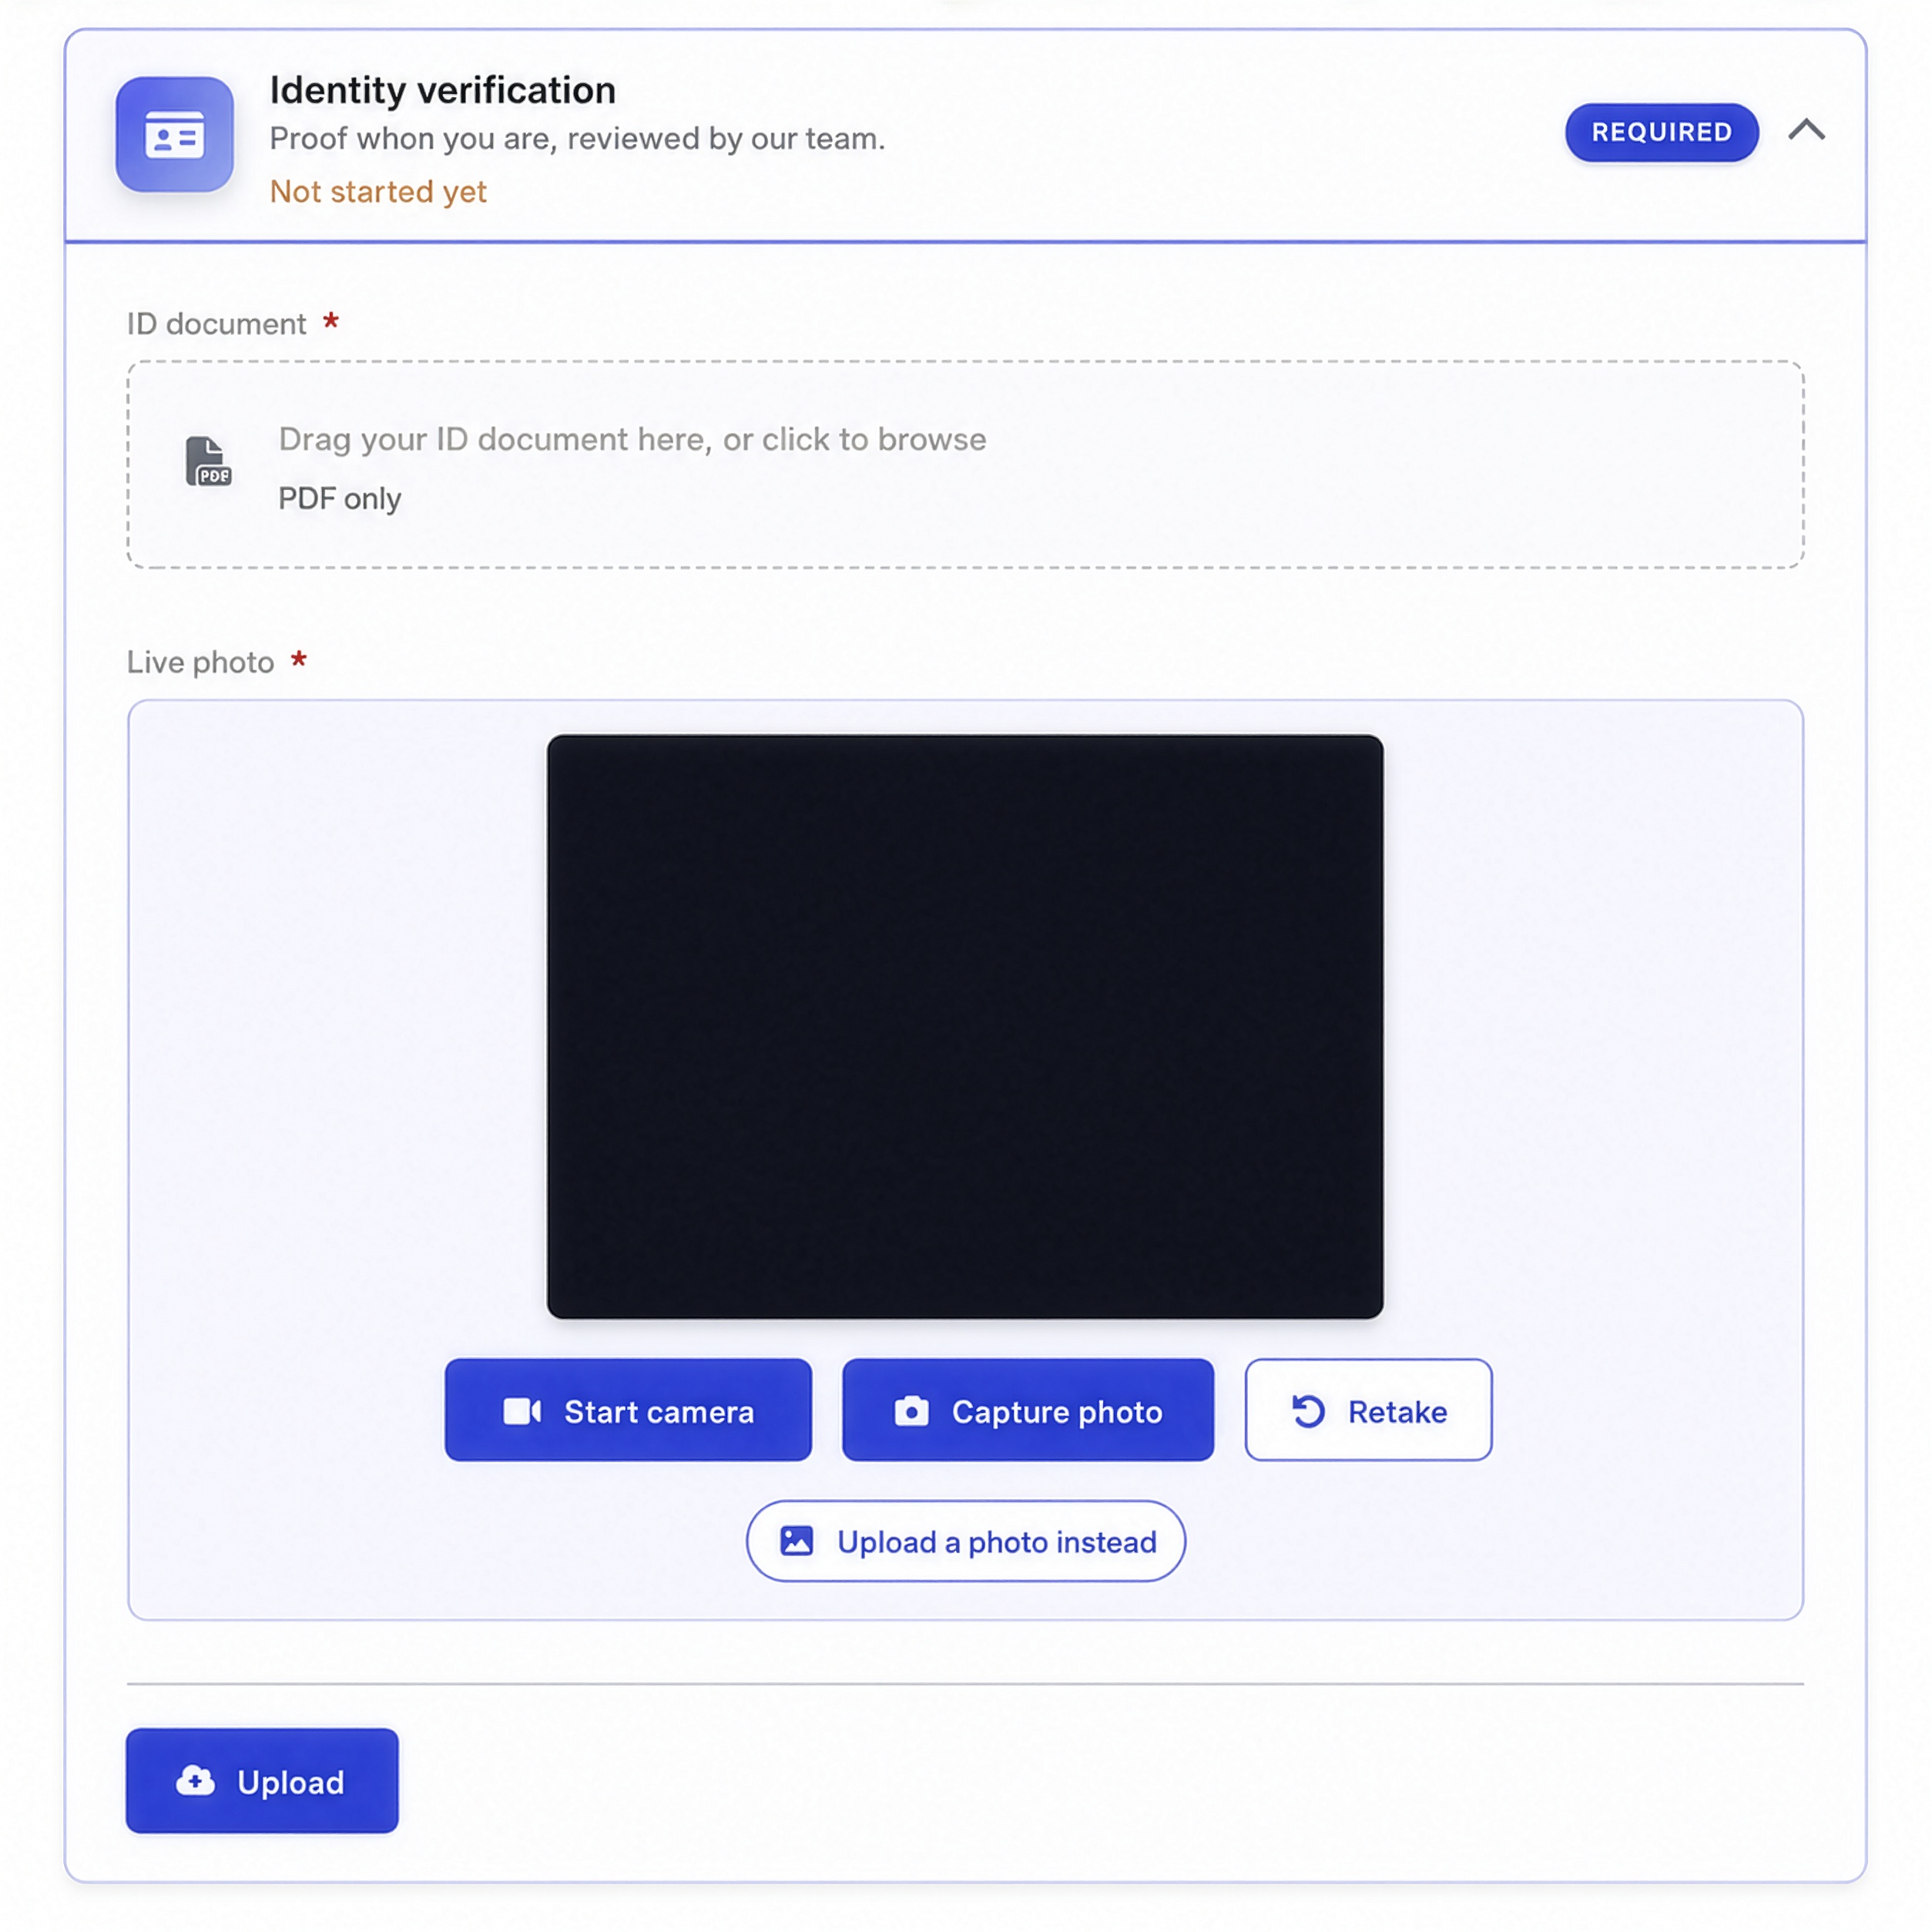
Step 7: Verify Your Identity
Upload an official identification document and complete the photo verification step.
8
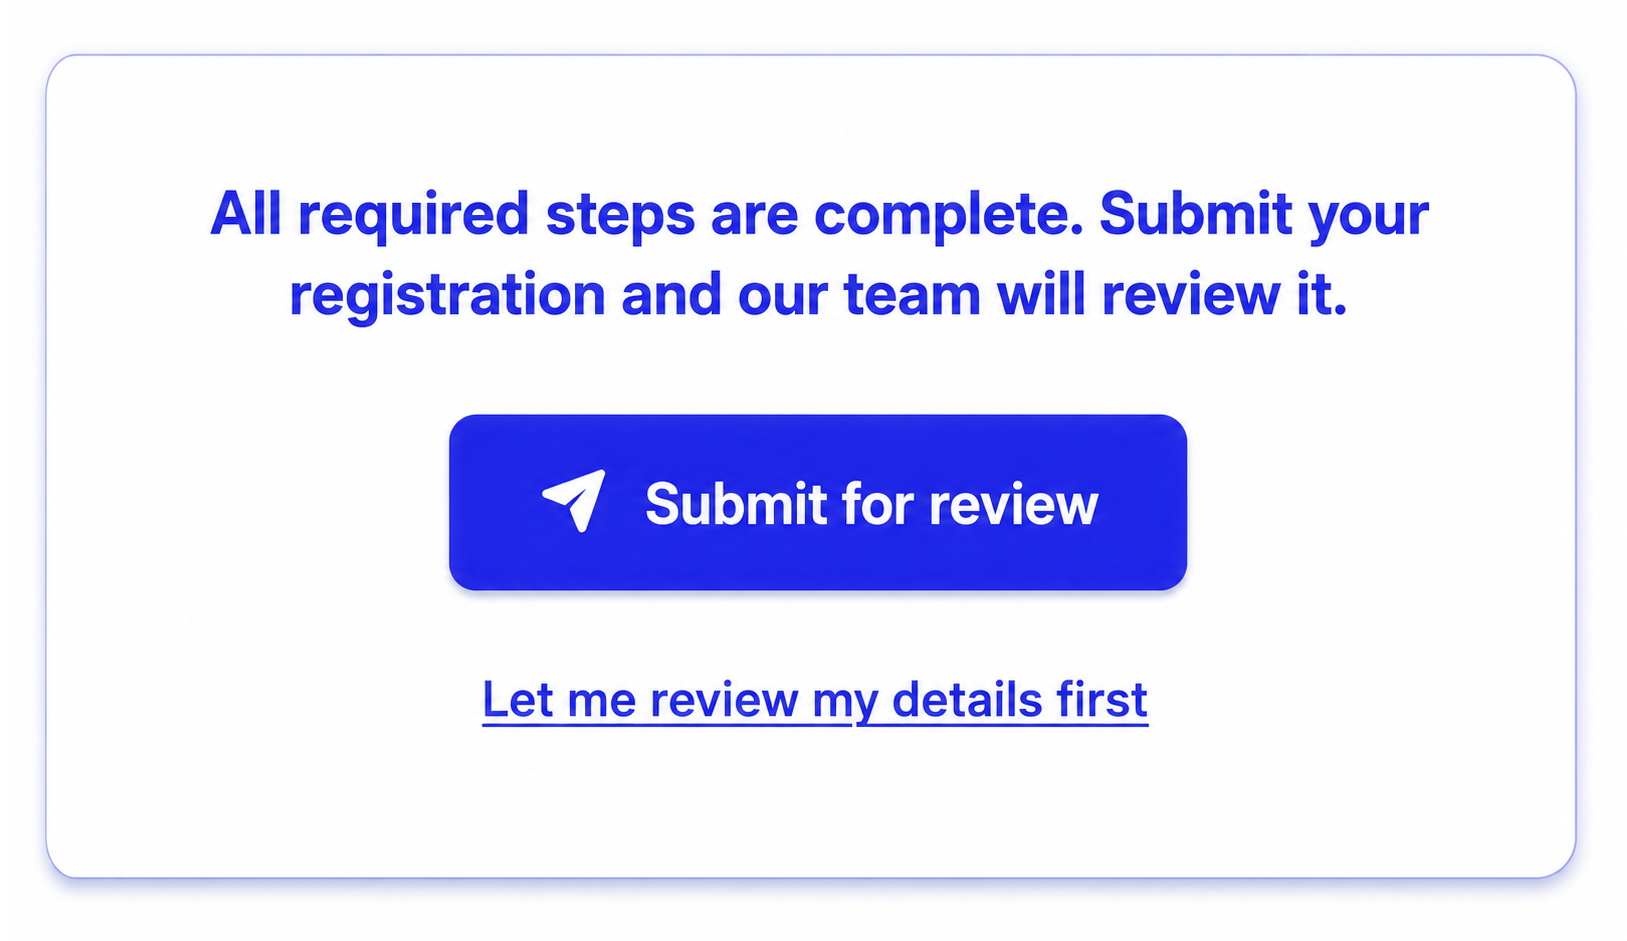
Step 8: Submit for Review
Once all required steps are complete, submit your registration for review.
After approval

Set up your business page
Create your public profile and showcase your brand.

Add products or services
List what you offer and set your prices.

Start reaching customers
Get discovered and grow your business online.

Need help getting started? Launch with us.
Our team will guide you through every step.